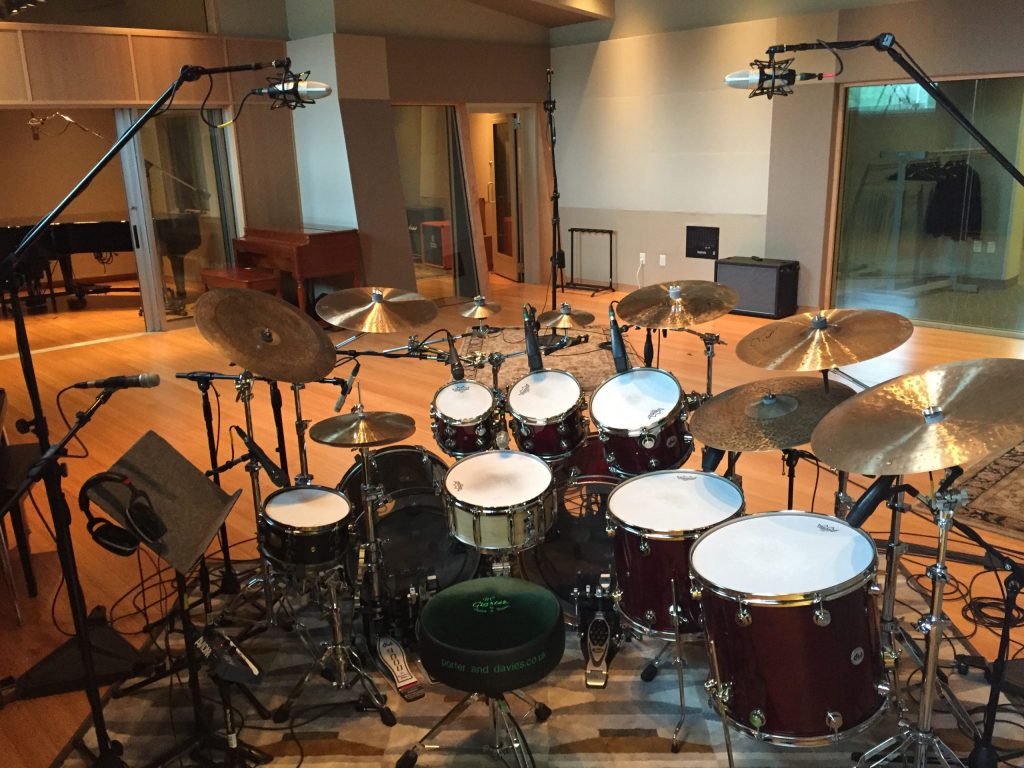
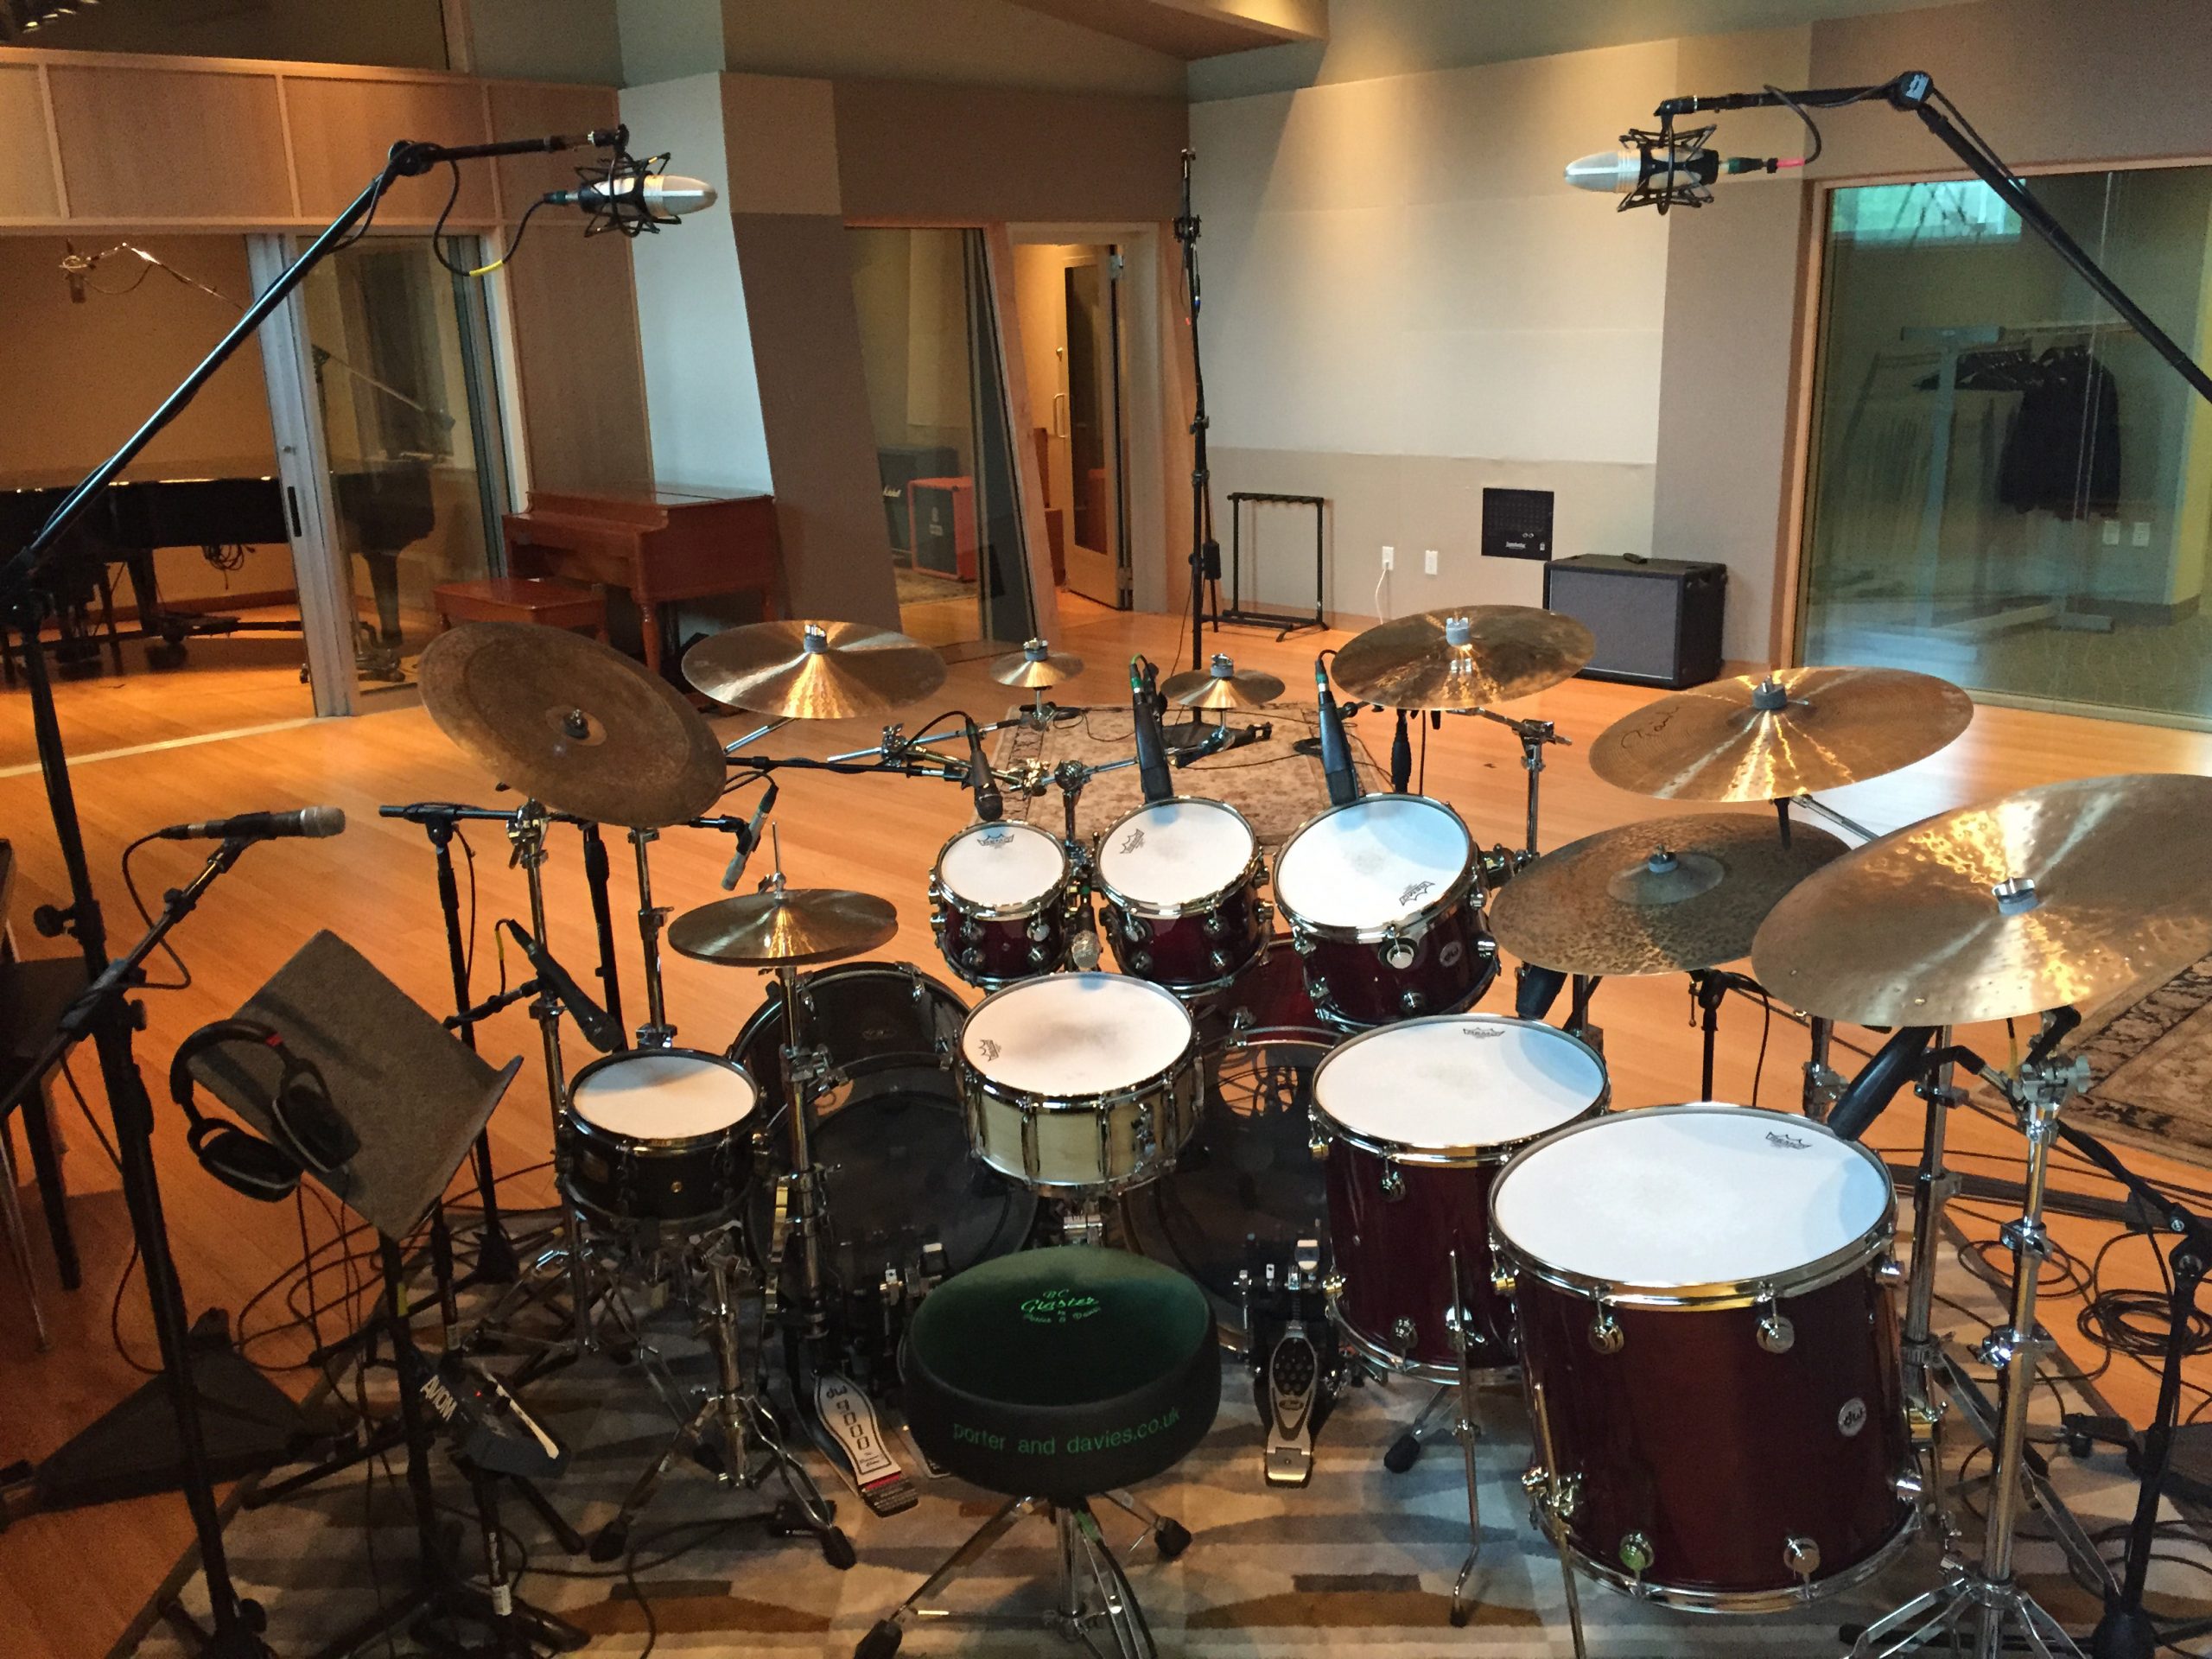
Every drummer knows that the sound of their kit is as unique as their fingerprint. But when it comes to recording or amplifying that sound, it’s crucial to understand drum mic setup.
Let’s dive into the specifics of miking and the drum mics for recording.
Kick Drum
The kick drum, or bass drum, is the heartbeat of your drum set. Its low-end thump can make or break the sound, especially in genres that depend on a powerful bass punch. For the Drum mic setup, place a dynamic microphone inside the drum hole, aiming it slightly off-center towards the beater. If you prefer more resonance, you can place another mic outside, about 6-8 inches away from the head. Telefunken M82 or AKG D112 are industry favorites for their ability to capture the kick drum’s depth and punch.
Snare Drum
The snare is the drum set’s voice, so it’s important to get its mic placement just right to capture its distinctive crack. In regards to the drum mic setup position a dynamic microphone, tilted at a 45-degree angle, about an inch away from the rim. Point it towards the center for a fuller sound or towards the edge for more overtones and ring. Shure SM57 is a popular choice due to its durability and ability to handle the snare’s sharp transients.
Overheads
Overhead mics capture the cymbals’ shimmer and the overall ambiance of the drum kit.
In regards to placement, use a pair of condenser mics positioned above the drum kit. The drum mic setup can vary based on preference, but a common technique is the spaced pair, where mics are placed about 2-3 feet above the cymbals and spaced apart. sE Electronics sE8 or Telefunken M60 are known for their clarity and wide frequency response.
Toms
Toms add depth and rhythm to the drum’s melody, and each tom has its unique pitch and tone. In regards to drum mic setup, place dynamic mics slightly above the tom heads, aiming them towards the center for a balanced tone. Sennheiser MD421 or Audix D2/D4 are often chosen for their ability to handle the toms’ dynamic range.
Room
Room mics capture the drum kit’s ambiance and the natural reverb of the room. Use one or two condenser mics, placed a few feet away from the drum kit, often at ear level or higher. This placement captures the room’s natural sound, adding depth to the overall mix. Rode NT5 or Royer R-121 are preferred for their ability to capture room dynamics without compromising clarity.

Pro tip: This Shure Microphone setup is a great, affordable way to craft the best drum tone for under $1,000.
The Best Drum Mic Setup for Every Drum in Your Kit
1. Dynamic Microphones
They are best for kick drums, snare drums, and toms. Dynamic mics are robust and can handle high sound pressure levels (SPL) without distortion. They are excellent for capturing the punch and attack of louder drums.
2. Small-Diaphragm Condenser Microphones
They are best for Hi-hats and cymbals. These mics are sensitive and provide a detailed, clear sound. They capture the sharp transients of cymbals and the delicate shimmer of a hi-hat perfectly.
3. Large-Diaphragm Condenser Microphones
They are best for Overheads and room ambiance. These mics have a broad frequency response and capture a wider sound, making them ideal for taking in the entire drum kit’s sound or the room’s ambiance.
4. Ribbon Microphones
They are best for Room ambiance and as overheads in specific genres like jazz. Ribbon mics offer a smooth vintage character, adding warmth and depth to the sound.
5. Boundary/PZM Microphones
They are best for capturing the resonance from inside the kick drum or under the snare.
Tailoring Your Drum Mic Setup for Every Drum Genre
The drum miking techniques for each genre are as follows:
Classic Rock
The essence of Classic Rock is punchy kicks, prominent snares, and crisp cymbals. You can use dynamic mics close to the kick and snare to get that punch for best optimisation. Overheads should capture both the cymbals and the general kit ambiance. For a more vintage and great sound, consider ribbon mics as overheads or room mics.
Modern Rock
The essence of Modern Rock is refined lows, powerful hits, and a more polished overall sound. In Modern Rock, multi-miking is vital. Each drum and cymbal gets its microphone, ensuring clarity and separation. Close-miking techniques help emphasize the power of each hit. You can enhance the room’s natural reverb with large-diaphragm condensers placed farther from the kit.
Jazz
The essence of Jazz is nuanced dynamics, subtler kicks, and the shimmer of ride cymbals. A good pair of overheads can often capture the entire kit, with maybe an additional mic for the kick and snare. Ribbon mics can add a warm vintage character.Position overheads closer to the ride cymbal and snare, capturing the kit’s intricate patterns.
Indie Rock and Folk
The essence of Indie Rock and Folk is natural tones, softer hits, and an organic ambiance.You can focus on room mics to capture a more ambient sound. Use fewer mics and lean more towards condenser microphones for a brighter, airier tone.
The ’70s
The essence of The ‘70s is warmth, deep grooves, and a bit of that vintage flair. Emphasize the toms and kick with close miking. Use ribbon mics for warmth. Overheads should provide a blended sound of the cymbals and kit. Tune your drums to get that ’70s resonance, and the mics will do the rest!
Country
The essence of Country is a clear snare, tight kick, and a balance between the kit and other instruments. The best way is to have dynamic mics on the snare and kick for clarity. Overheads capture the cymbals without overwhelming the mix. It’s all about balance. Mic the underside of the snare for added snare wire crispness, which fits perfectly in country tracks.

Steps to Every Drum Mic Setup
The best way to mic drums are as follows:
1. Clear the Space & Plan Your Setup
Ensure you have a clean area around your drum set. Lay out your microphones, stands, cables, and any other necessary gear. Visualize where each mic will be placed relative to the drum kit.
2. Start with the Kick and Snare
These are typically the backbone of your drum sound, so get them right first. In regards to drum mic setup, position your kick mic inside or outside the drum hole, depending on the desired sound. Ensure it’s stable. Set up your snare mic tilted at about a 45-degree angle, focusing on the drum’s sweet spot.
3. Toms & Hi-Hat
For toms, position dynamic mics above the drum heads, slightly angled toward the center. Set up a small-diaphragm condenser mic for the hi-hat, ensuring it’s not obstructing your playing.
4. Overhead Mics
Determine your overhead technique – spaced pair, XY, ORTF, etc. Use tall boom stands to position the condenser mics above the drum kit. Aim to capture a balanced sound of cymbals and the overall kit.
5. Room Mics
Depending on your room’s acoustics and the sound you want, decide where to place room mics.
Often, these are set at ear level or higher and a few feet away from the kit to capture the natural ambiance.
6. Cable Management
Once all mics are in place, start running your cables. Use velcro ties or cable clips to keep them organized, preventing trips or accidental unplugging.
7. Connect to the Audio Interface/Mixer
Connect each microphone cable to your audio interface, mixer, or recording device. Label or note each input if not already done. This step is vital for easier mixing later.
8. Test Each Microphone
Before diving into recording or a performance, test each microphone individually. Listen for any odd sounds, interference, or phase issues, especially with the overheads.Adjust mic positions as needed based on your initial sound check.
9. Lock Everything Down
Ensure all mic stands are tightened and secure. Double-check the positions so that nothing will move during the performance or recording.
Mastering the Art of Drum mic setup
Close Miking:
This involves placing microphones close to individual drums and cymbals to capture their direct sound. It provides clarity and punch, making each drum stand out. Typically, dynamic mics are used for the snare, toms, and kick drum, positioned just a few inches away, while a small-diaphragm condenser might be best for the hi-hat.
Overhead Miking:
This technique uses condenser mics placed above the drum kit. The aim is to capture both the cymbals and an overall balance of the entire kit. There are different configurations such as the spaced pair, XY, and ORTF, each with its unique stereo imaging characteristics.
Room Miking:
This technique uses condenser mics placed above the drum kit. The aim is to capture both the cymbals and an overall balance of the entire kit. There are different configurations such as the spaced pair, XY, and ORTF, each with its unique stereo imaging characteristics.
Ambient Miking:
This is a step beyond room miking, emphasizing unique acoustic reflections. You might place mics in adjacent rooms, hallways, or even stairwells to capture an unconventional and atmospheric sound.
Glyn Johns Technique:
A classic and minimal method using as few as three microphones. One overhead above the snare, another by the floor tom, and a kick drum mic. The overhead and side mics remain equidistant from the snare, ensuring a balanced sound.
Recorderman Technique:
Another efficient approach using just two overheads plus kick and snare mics. One overhead is above the snare, and another hovers over the drummer’s shoulder. Maintaining equidistance from the snare is the key here.
FAQs
Should I mic my drums?
Miking your drums depends on the setting and the sound you’re aiming for. For live performances, miking is usually necessary to amplify the drums and ensure the sound reaches the audience. In studio recording, miking is essential to capture the full range of each drum and cymbal, allowing for more control over the mix. It also enables you to apply individual processing like EQ and reverb. If you’re in a small or poorly acoustically treated space, miking helps ensure your drums don’t get lost, while a larger, well-treated room might allow for a more natural, ambient sound with fewer mics.
What is the easiest way to mic drums?
The easiest way to mic drums is with a basic setup that uses minimal mics while still capturing a full sound. Start with a pair of overhead mics placed in an “X” or “spaced pair” configuration to capture the cymbals, snare, and toms in a natural, ambient way. Add a mic inside or just outside the front of the kick drum to capture its deep thump, such as a dynamic mic like the Shure Beta 52. Lastly, position a mic close to the snare drum, pointed at the center of the drumhead, for a crisp, focused snare sound.
What is the 3 to 1 rule for drum mics?
The 3:1 rule for drum mics is a guideline to avoid phase issues when miking multiple drums. It suggests that the distance between each mic and the source (such as a snare, tom, or cymbal) should be at least three times the distance between any two mics. For example, if your snare mic is placed 6 inches from the drum, any other mic (like a tom mic) should be placed at least 18 inches away from the snare mic. This helps reduce phase cancellation, ensuring that the sound from each drum is captured clearly and doesn’t interfere with the others.
